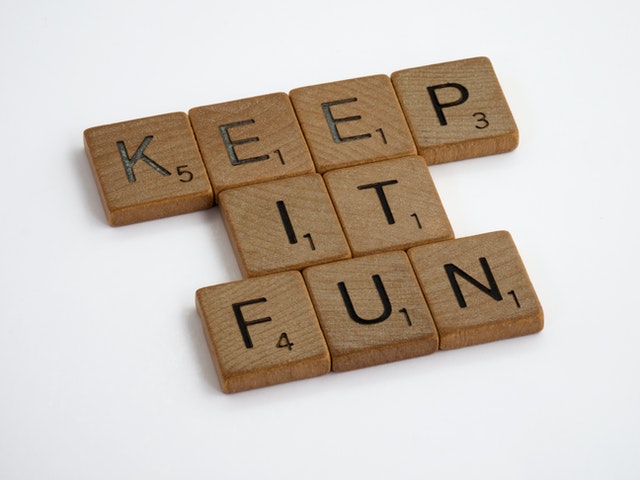
Het klinkt leuk, eenvoudig leven, maar hoe ziet dat er in de praktijk uit? Dit is natuurlijk voor iedereen anders. Maar het gaat er eigenlijk om dat je ook durft te leven en niet alles van minuut tot minuut hoeft te plannen. Pas wanneer je dat doe gaat laten, kun jij ook eens kijken wat er nog meer om je heen is. Ga een mooie wandeling maken, kijk eens om je heen, hoeveel kleuren, verschillende landschappen, allemaal mooie dingen die we gratis krijgen van de natuur. Daar kunnen we vaak uren van genieten, maar geef je jezelf die tijd ook? Ervaar het maar eens want je gaat er echt wat aan hebben.
Ken de Carpe Diem betekenis
Weet jij wat de Carpe Diem betekenis is? We leggen dat je graag uit, want het staat voor pluk de dag. Daarmee bedoelen we dat je iedere dag zou moeten leven alsof het je laatste dag is. Kortom ga meer genieten van de kleine dingen in het leven, sta stil bij een mooie ervaring. Vaak denken we alleen maar vooruit, we vergeten in het nu te leven en staan niet stil bij al dat moois. Dat onze wereld biedt, elke dag gaat de zon op… denk dus niet alleen aan zonnepanelen voor de toekomst.
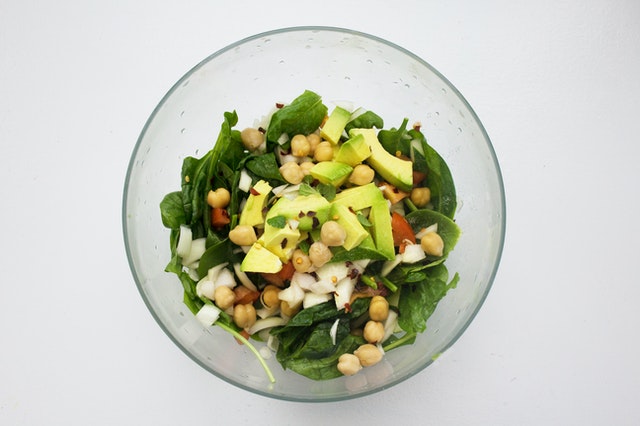
Welke gerechten maak je klaar met kikkererwten?
Sommige mensen zijn dag en nacht bezig met hun gezondheid en voeding. Daarom is het wel eens interessant om te gaan kijken wat de kikkererwten daarin kunnen betekenen. Als je namelijk op zoek gaat naar nieuwe koolhydraatarme recepten, dan is de kans groot dat jij deze ook tegen kunt komen met kikkererwten. Hoe en in welke vorm zal iedere keer anders zijn, maar het is goed dat je je daar eens in gaat verdiepen, misschien is dit voor jou wel een nieuwe manier van eten.
Voeding aanpassen met koolhydraatarme recepten
Soms wil je je voeding eens heel anders klaarmaken en andere producten gebruiken. Het zou dan kunnen dat je een recept tegenkomt met koolhydraatarme recepten. Dit is echt een veelzijdige peulvrucht en deze kun je eten als groente, als koolhydratenbron en als vleesvervanger. Het is dus helemaal aan jou hoe je deze in wil zetten bij je eigen maaltijden. Als je er nieuwsgierig naar bent, dan is het raadzaam om er snel mee te beginnen. Hoe meer je er mee bezig bent, hoe meer inspiratie je krijgt en hoe meer zin je krijgt om wat nieuws op tafel te zetten.